Creating Guides
Learn how to create Guides to deliver visual, bite-sized content to your workforce.
Prerequisites
If creating from your phone, you have the eduMe Content Builder app downloaded on your device (available for both iOS and Android)
If creating via eduMe on the web, ensure you have the correct permissions to create content.
What's covered in this article
Creating guides with the eduMe content builder app
Creating guides via the eudMe web platform
Creating guides with AI (Beta)
Download our Guides best practice resource
Creating guides with the eduMe content builder app
- To choose the group you want to create content in, select the Guides dropdown at the top of your page. The Profile & Groups tab opens.
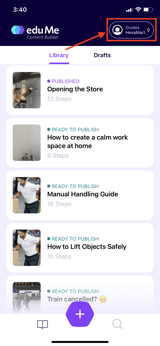
- Select the group you’d like to create the Guide in.
- You can add video, image, canvas, or question steps in your Guide.
- You can choose to create the Guide by capturing images or videos live on your camera. To do this, select the + icon to open the camera and capture images or videos. This works in a similar way to the camera feature on smartphones.
- The image or video is added as a step as soon as you capture it. If you’d like to preview the image or video, tap the edit icon.
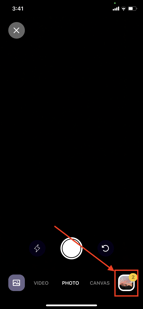
- Alternatively, you can upload pre-existing media to create Guides. For details on the media types supported, refer to the Supported Content Types in Guides topic.
- If you’d like to add text, images, and other elements in a flexible format, you can use the canvas slide.
- To test the learners’ knowledge, you can add questions in the Guide.
- After you’ve created all the slides, select the edit icon at the bottom right of your screen to preview. You can edit, reorder, and delete the steps as needed.

- When you’re happy with the content, select Next.
- In the next screen, add the Guide title and a cover image.
- You can choose to switch on the Enable Reactions toggle.
- Select Save Now. In the web view, the Guide is uploaded to your Drafts section. In the phone view, the Guide is uploaded to the Library section.
Note: If you exit without saving, the Guide will be available in your phone app and can be accessed in the Drafts tab of the app.
You’ve now created a new Guide in the group of your choice.
Note: Published Guides must be unpublished before you can edit them.
Creating guides via the eduMe web platform
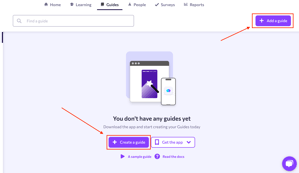
- Within the admin panel, navigate to the Guides tab
- If creating a guide for the first time click on +Create a guide in the middle of the screen, or if there are existing guides, the click on +Add a guide in the top right side of the screen
☝️ If you have multiple groups, make sure that you have selected the correct group to create your guide from.
-
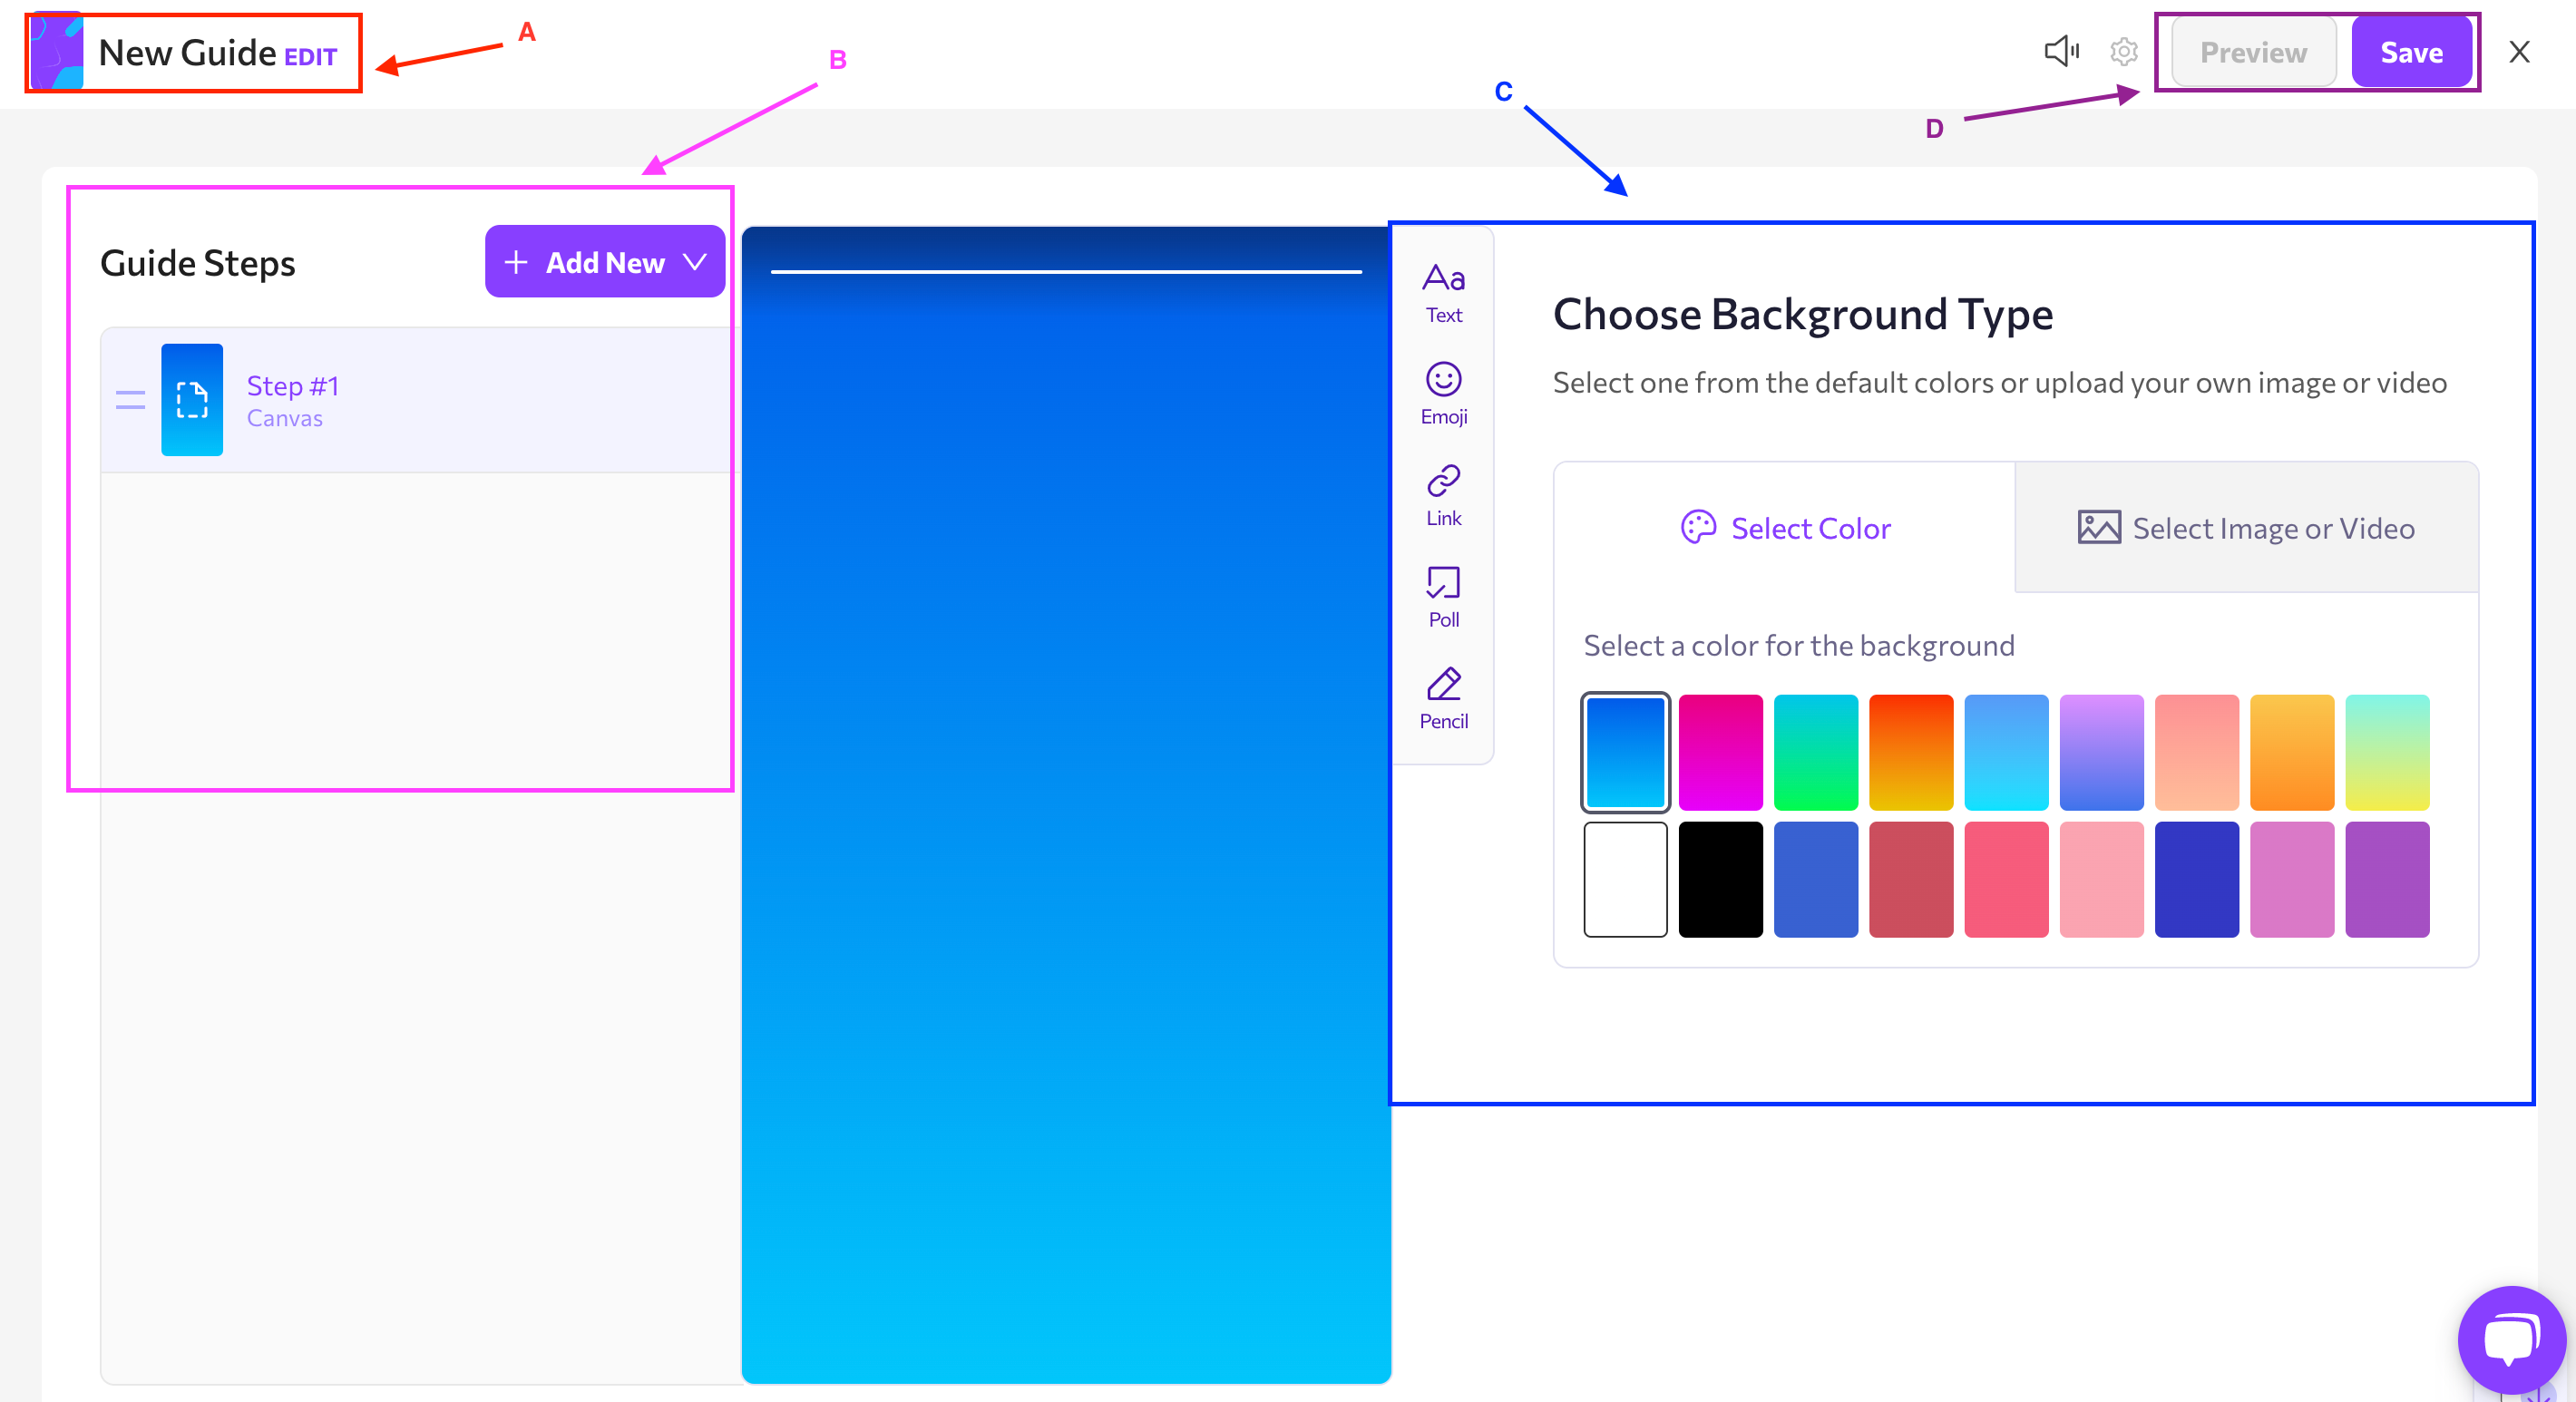
- Create / edit the name of your guide
- Add guide steps by clicking on Add New and select a basic slide type, or a template to help get you started
- Customise your blank step by selecting a background colour, adding an image/ video, text, emojis, external links, polls, or free draw.
- Save/ Preview your guide
Creating guides using AI (Beta)
1. Navigate to the Guides tab and click on Create with AI

2. Type in what you would like your users to learn. You can also click on examples provided to get you started
Tip! eduMe AI recognises the language you write your prompt in and will generate the Guide in that language 🌍
3. Once you you've confirmed the lesson, the AI will get to work on creating your Guide!
4. Once the Guide has been created, you can review and make edits to the automatically generated images and videos by clicking on a slide and choosing from AI Suggested images, Search Stock for specific stock images, and change the slide background color.
👇 Find new AI suggested images by entering a specific prompt and click regenerate

5. Click Done when edits completed.
6. If you'd like to generate a new guide based on a different prompt, click on your original prompt at the bottom of the screen next to the pencil icon and type your new prompt and click Try again. If you're happy with what the AI has generated, then click on Continue to move to the editor where you can make further edits and save your guide.

7. Follow steps outlined in creating your guide above to make further customisations and edits.
8. When ready to publish, follow the steps here to assign guides to teams and publish!